Everyone has their go-to or workhorse cast-on. More often than not it can be a Knitted cast-on or a Long-Tailed cast-on; or perhaps the Cable cast-on. The one I tend to use is the Twisted German cast-on, also known as Old Norwegian cast-on. For speed I’m going to call it – TGCO.
The reasons I prefer this one are –
- I find it to be the quickest one to do (look at the video at the bottom to see how fast)
- It has a good balance between being a stretchy cast-on, as well as, springing back into place. I find the knitted cast-ons tend to be too tight for most situations.
- It creates a strong stable stitch that is easy to knit into on that first row. Some cast-ons can be very tricky or time-consuming on that first row.
- It is also a fantastic cast-on for top down socks – as it is so stretchy.
Last year, I made a cast-on flow chart for the blog, which can be useful in determining what type of cast on to use.

I prefer to learn from a photo tutorial but for those of you who prefer a video, there’s a quick demo video at the bottom of the post.
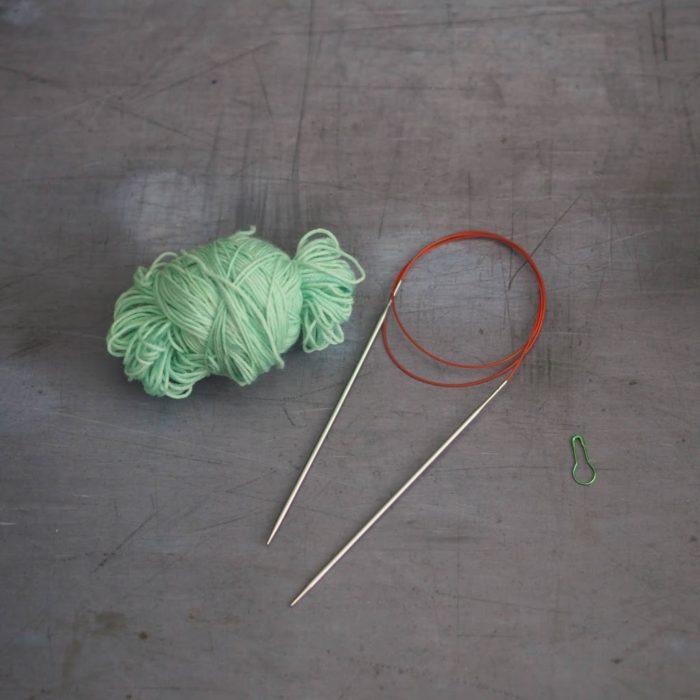
Step 1: TGCO is a type of long tailed cast-on, so first of all measure out enough yarn to cast on the full length. A good starting point to work this out is, for DK weight yarn or thinner, then 1/2 inch per stitch plus 6 inches and for thicker yarn then 1 inch per stitch plus 6 inches. Make a slip knot and put it on your needle. I don’t think it matters much but I tend to put the ball end of the yarn at the back (over my forefinger).

Step 2: Place your fingers between the strands and tilt your hand back into a catapult position. This creates a cross on the thumb strand.

Step 3: Take the tip of the needle to the front and under the two strands crossed on your thumb.

Step 4: From that position, now go over the top of this and down into the centre of the two strands on the thumb.

Step 5: Now pull the needle to the front – the back strand of the thumb will be on the needle.

Step 6: Now keeping the strand on the needle, take it over all the strands on the thumb and the first one on the forefinger.

Step 7: Hook the first strand on the forefinger with the needle and pull it through the little gap next to the needle.

Step 8: The next step is to drop the strand from the thumb – I tend to tilt my thumb forward…..

…and just as it drops off my thumb, I swing down and pick the strand at the bottom back onto my thumb (that way the whole cast-on is smooth and there is no slowing down between stitches).

Step 9: Once the bottom strand is on the thumb, pull back to your left and back into the slingshot position. Pull the strand so the stitch sits on the needle. I find that if you pull to the left rather than tightening it by pulling to the floor, the cast on will be stretchy. There are occasions that you want a tight cast-on and in those situations I may pull it down instead. It may take some time to find the right tension for you but pulling to left is a good place to start.

Step 10: Repeat steps 2-9 until you have the desired number of stitches.

If you’d like a PDF of this tutorial then just follow this link.