Knitting Tutorial: Neat Tubular Cast-On

The tubular cast-on is the method that is the most similar to the type found in commercial knitting pieces. It works best with 1 x 1 ribbing and it gives the edge a rounded finish. It gives a neat and stretchy finish too. However, there are so many different methods out there and I find that many of them can give a very untidy finish. 

The methods that use the slingshot hold work well but can be a nightmare to keep twists out when joining in the round too. 

This method is done entirely by knitting and I find it is easy and neat to work.

close up of tubular cast-on

How many stitches to cast on?

This method requires different things depending on the stitch count and method of working. You don’t cast on the same number as the pattern tells you. Instead check if it’s an odd or even number first.

If an odd number

Add 1 to total stitch count and divide by 2 e.g. pattern says to cast on 139 sts. Add 1 = 140 then divide by 2 = 70. Cast on 70 stitches. 

If an even number

Divide stitch count by 2 e.g. pattern says to cast on 140 sts. Divde by 2 = 70. Cast on 70 stitches.

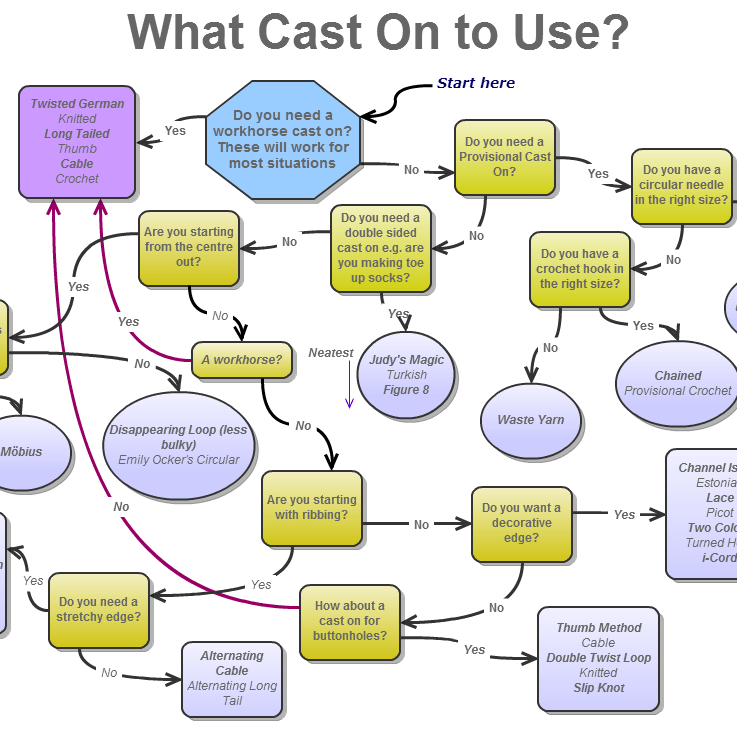
What cast-on method do I use?

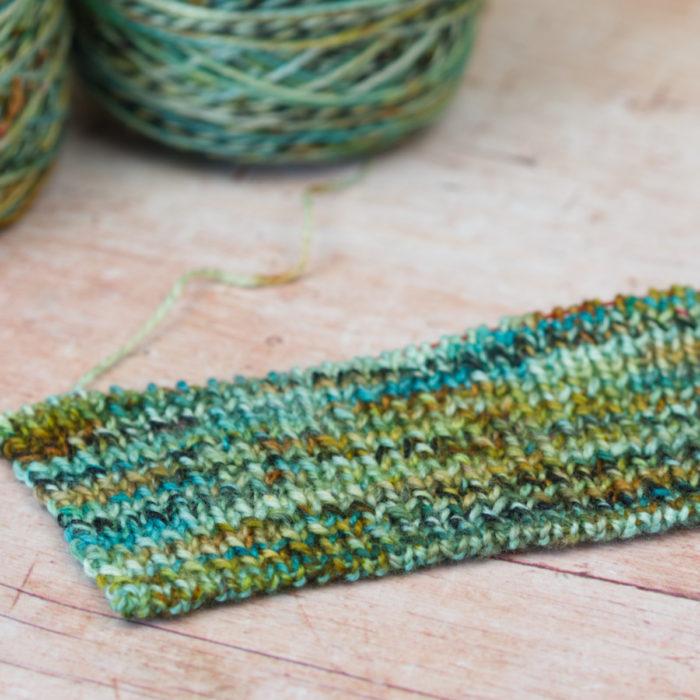
You can use any method to cast on the stitches. A provisional method makes it easier to remove the waste yarn later but just use your preferred method.

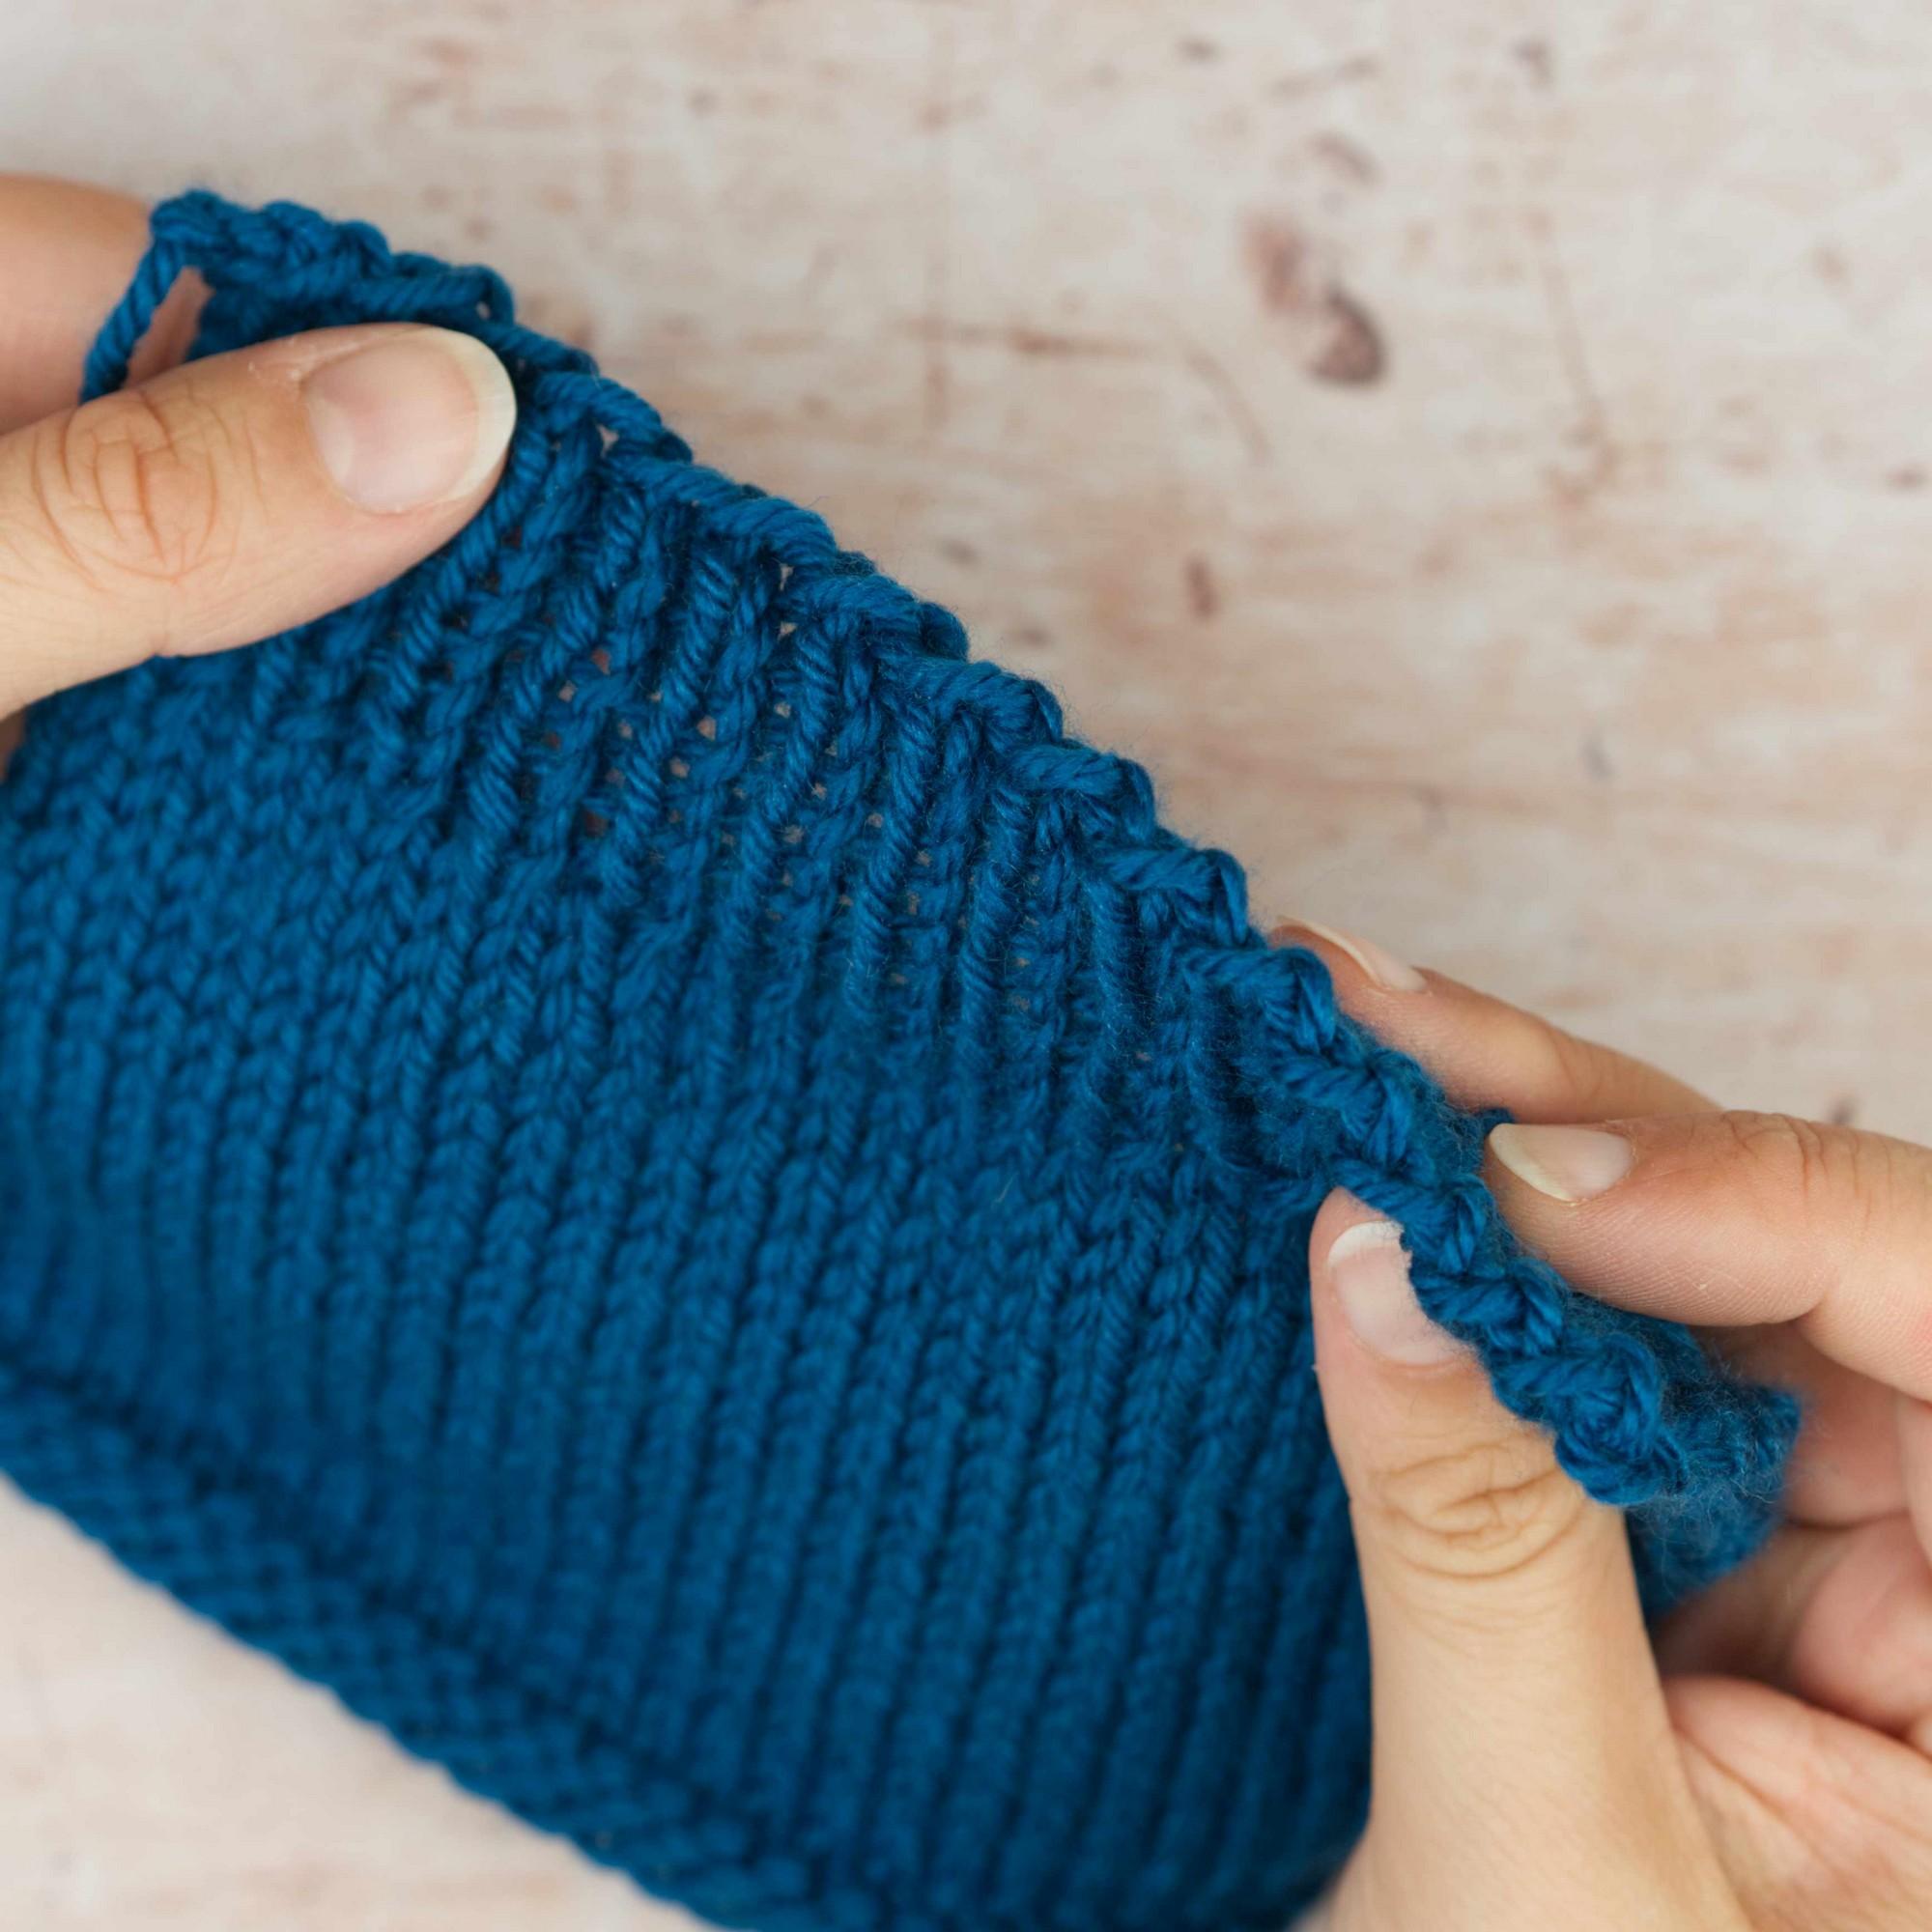
Casting on for Tubular cast-on

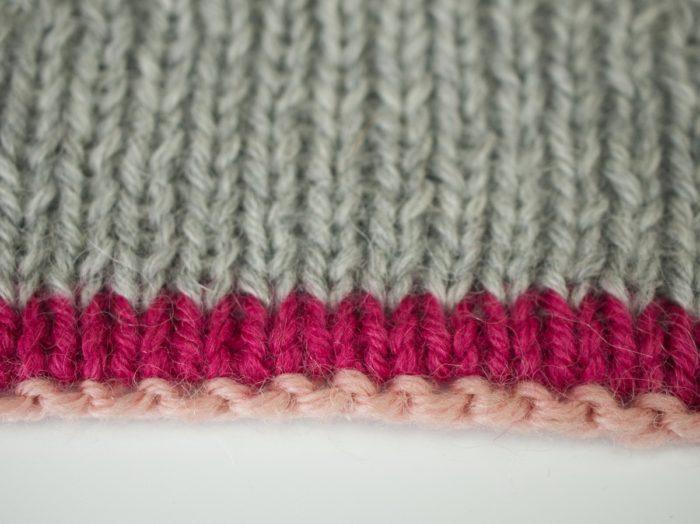
Use waste yarn and the main needle size and cast on the required number of stitches.

Setup Row: Change to a needle 2 sizes smaller and using your main yarn, purl a row.

Next row (RS) – 

For odd number – *k1, insert left-hand needle (LHN) from front to back under running thread, p1 through this thread, rep from * until last stitch, k1.

For even number – *k1, insert left-hand needle (LHN) from front to back under running thread, p1 through this thread, rep from * until last 2 sts, k1, insert LHN from front to back under running thread, purl thread and final stitch together.

Working in the round

Round 1: *slip 1 (sl 1) with yarn in back (wyib), p1, rep from * until end, or if odd, end with sl 1 wyib.

Round 2: *k1, sl 1 with yarn in front (wyif), rep from * until end, or if odd, end with k1.

Round 3: Repeat Round 1.

Working Flat

Row 1 (WS): (if odd, start sl 1), *k1, sl 1 with yarn in front, rep from * until end.

Row 2 (RS): *k1, sl 1 wyif, rep from * until end, or if odd, end with k1.

Row 3: Repeat Row 1.
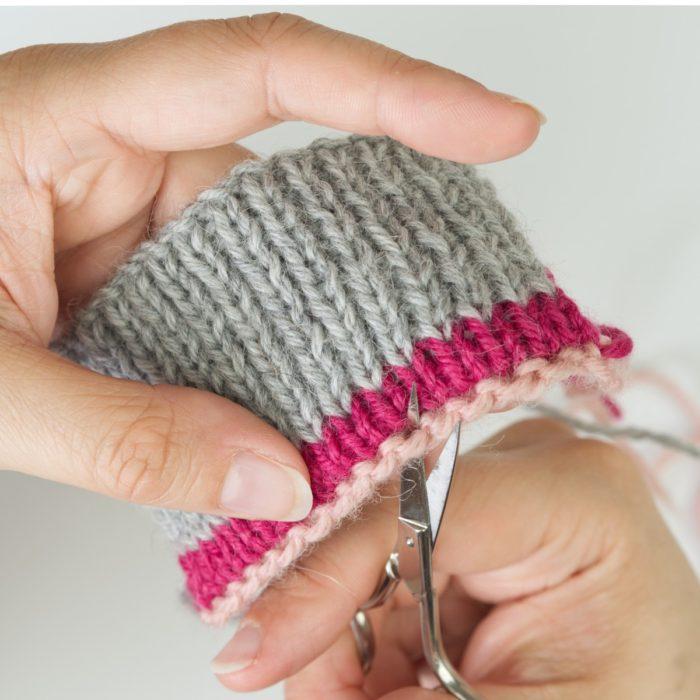
After the cast on

Once you have completed the first few rounds, then change to the main needle size and continue the pattern as instructed, making sure to knit the knits and purl the purls.

close up of tubular cast on with waste yarn still attached
The pale pink is the waste yarn and the bright pink is the first few rows of tubular cast-on

Removing the waste yarn from the tubular cast-on

This depends on which cast on that you used. If you used a non-provisional, then cut the waste yarn and pull it out. 

If you used a provisional method, then undo and pull out the waste yarn.

Cut the waste yarn and remove from edge

1 thought on “Knitting Tutorial: Neat Tubular Cast-On”

Comments are closed.